
Thursday, 26 November, 2020
Umbraco Basics – NuGet Installation for Umbraco 8
How to install Umbraco 8 for development using NuGet.
Overview
This article explains how to install Umbraco 8 using Visual Studio 2019 and the NuGet package manager. It's based on a previous article explaining installation of Umbraco 7 using Visual Studio 2017.
The post is intended for developers wanting to build Umbraco applications, it does not describe how to deploy Umbraco to a live Web Server.
It enhances Umbraco HQ's documentation, showing the installation process using Visual Studio 2019, going in to greater depth, providing additional database configuration details and highlighting common pitfalls.
Related posts
- Umbraco basics - NuGet Installation for Umbraco 7
- Umbraco Basics – Manual Installation
- Why Use Umbraco?
Prerequisites
- Microsoft Visual Studio (MSVS) 2019+
Umbraco 8 is compatible with Visual Studio 2017 version 15.9.6+ or Visual Studio 2019.
You can download the free Community Edition from https://visualstudio.microsoft.com/vs/community/. - Internet Information Services (IIS) 7+
IIS 10 recommended. - SQL Server 2016+
SQL Server 2019 recommended.
SQL Compact Edition (CE) will work but is not recommended for production;
Azure SQL Server will work too but is not explained here.
Optional Extra Tools
- SQL Server Management Studio
A free management tool available from the Microsoft download centre.
Creating the Web Project
First we need to create an empty ASP.NET MVC Project.
- Launch Visual Studio.
- Click Create a new project.
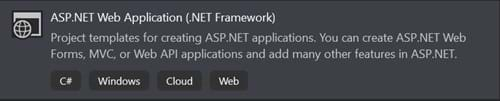
- Find ASP.NET Application (.Net Framework), click Next.
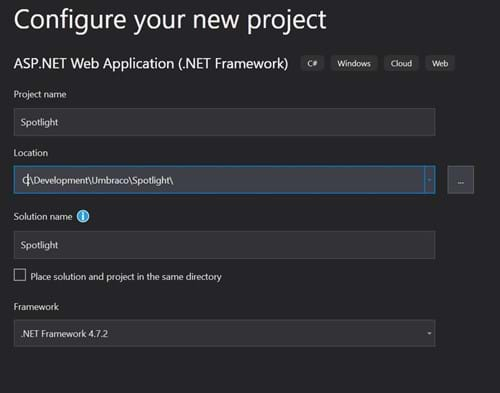
- Give the project and solution a name; select a file location; select .Net Framework 4.7.2. Click Create.
- On the Configuration page choose to create an empty project. I leave HTTPS checked.
- Build and run the project (optional).
At this stage you have an empty ASP.NET application, without Umbraco installed it will not run because there is no default document and directory browsing is forbidden by default.
Installing UmbracoCMS Package using NuGet
Now you have a working ASP.NET MVC Website. It's time to add Umbraco.
- Select Tools > NuGet Package Manager > Manage NuGet Packages for Solution.
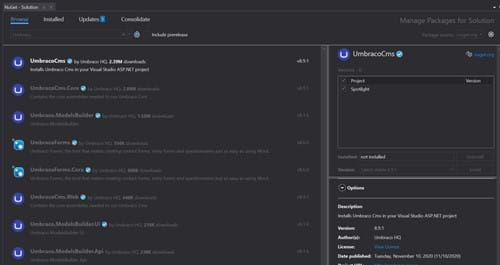
- Select Browse. Type Umbraco. From the options found, select UmbracoCms.
- From the UmbracoCMS panel displayed, tick the Project name, check the version number - 8.9.1.
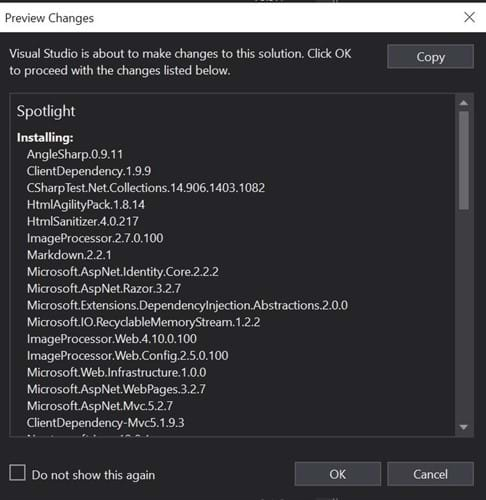
- Click Install. Preview the changes and Click OK. Accept the Licence.
- Build and Run (press F5).
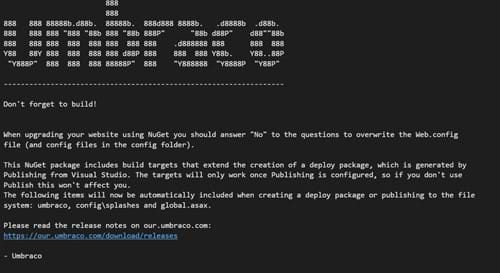
This time the website will run and you'll presented with the Umbraco installation wizard.
Note: An alternative method of installing a package is via the NuGet console: open the Package Manager Console under Tools > NuGet Package Manager > Package Manager Console, Type: Install-Package UmbracoCms.
Umbraco Database Engine Options
Before installing Umbraco you'll need to set-up a database. Umbraco offers 3 different database engines to choose from:
SQL CE
SQL Compact Edition is quick and easy to set-up but not recommended for production. It's there if installing SQL Server isn't right for you and you can always upgrade to an SQL Server later by changing the connection string in web.config.SQL Server (recommended)
SQL Express and Developer editions are freely available on from Microsoft's website, they're quick and simple to install and offer everything you'll need. SQL Express is frequently used for smaller websites in production and is the default for Plesk.SQL Azure:
SQL Azure is a fine choice provided you have an Azure subscription with the server and database ready for Umbraco.MySQL (not recommended)
The MySQL option has been removed in Umbraco 8. Consider using MS SQL Server on Linux if your looking to host your database on a Linux server.
Create the Umbraco Database
Creating a database can be done a number of different ways, depending on your configuration and preference.
These instructions explain how to install a database on SQL Server using SQL Server Management Studio.
- Launch SQL Server Management Studio.
- Connect to a SQL Server.
Choose the Database Engine server type;
provide the computer name or URL or IP Address of the SQL Server; on development machines this will be the name of the computer.
Click Connect.
Note: A quick note on connection credentials: SQL Server authentication is not a subject covered in this article except to say your server may be configured to allow SQL Server and Windows authentication, usually on a development machine you logon using the Windows account, and you should ensure that the logon you use on production servers has suitable restricted access rights.
- Once connected, select Databases, and click New Database.
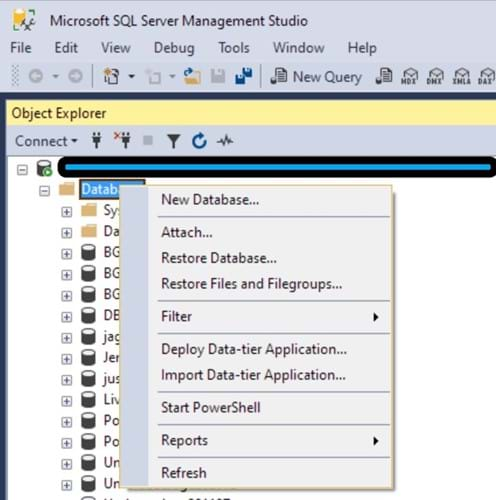
- Configure the database.
Give it a name such as UmbracoDB and click OK to create the database.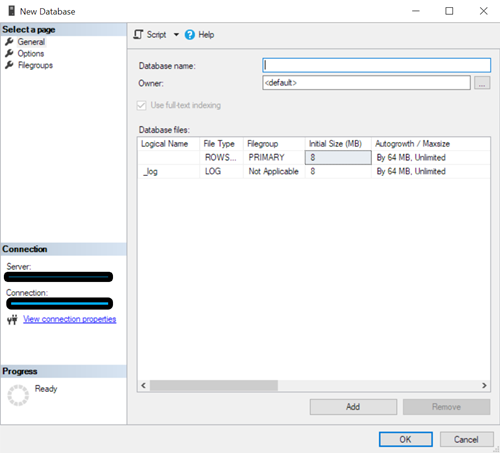
Note: As an alternative, to create a database using Visual Studio select View > SQL Server Object Explorer, then Add SQL Server to connect to your server and manage it - you need provide access credentials for remote servers, then right click on Databases and select Add new databases.
Configure Umbraco
If you've set-up the database in the last step you're ready to go.
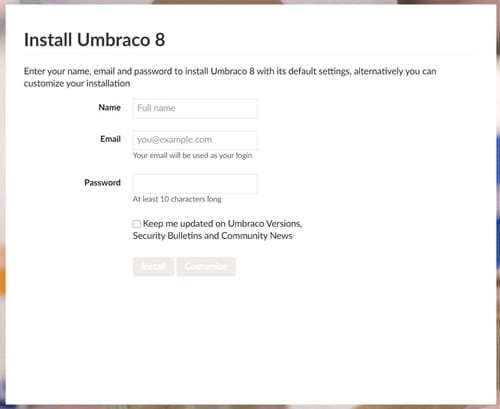
If you haven't already, build and run the website (press F5); a browser will spin up and you'll be presented with the Umbraco installation wizard.
- Fill in the fields: name, email and password, then click Customise.
- Click Continue on the next page to use Machine Keys.
Machine Keys are necessary for cloud hosting environments.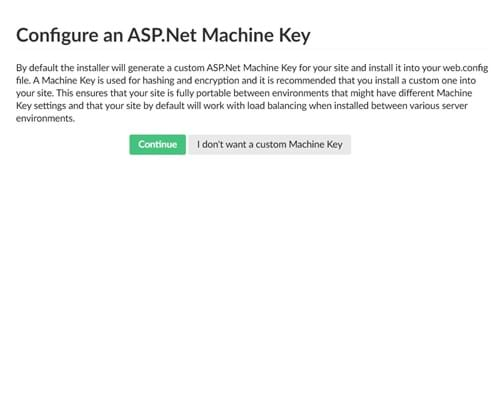
- Select Microsoft SQL Server.
Provide the server's name (or IP address or URL), and enter the the name database you created earlier. - Enter your connection credentials.
On development machines tick use Integration Authentication to login using Windows authentication;
For remote SQL Servers provide the username (login) and password for the server's database.
Click Continue. - Optionally install the starter website.
For fresh green field development projects this isn't recommended, but for evaluation and education purposes it's a useful starting place.
Click either the image image or No Thanks...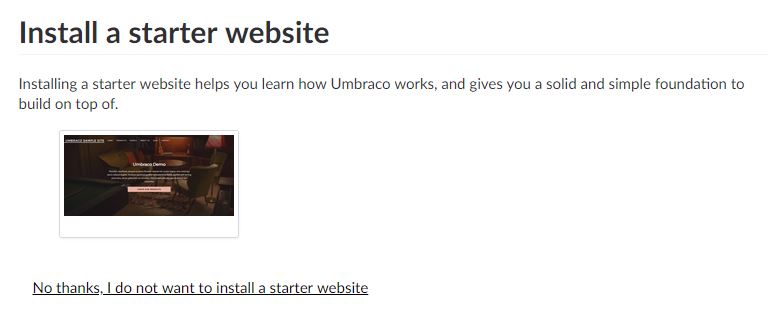
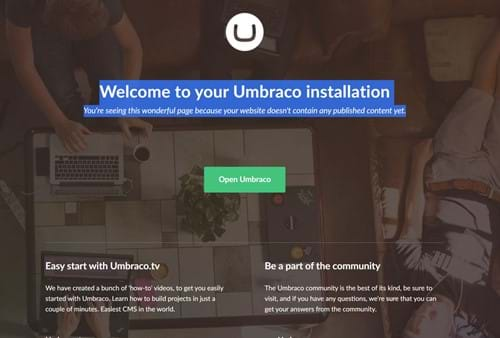
Sit back and wait while the Umbraco wizard populates the database. When finished you'll be taken to the Umbraco Back-Office and offered a tour of it's features.
The Back-Office is Umbraco's admin portal where you control the website. To view Umbraco's default landing page on the front-end, remove the /umbraco/ suffix from URL in the browser's URL bar.
Summary
Congratulations, you've installed Umbraco.
The Website works like any other ASP.NET application, and as such you can code, debug and deploy the same way you would any ordinary ASP.NET MVC application. That said Umbraco is essentially a development framework and you'll need to understand it's conventions and mechanisms to produce a working website. The online documentation provides an excellent reference point, if you need more help why not take a look at my other articles?
Want to Thank Me?
Did you like this article? Was it helpful? Why not buy me a coffee on Paypal? Buy me a coffee?